S/3 Model 15 Project Denmark 2011
In 2010
I had some email exchange with Jørgen Bøgvald of
the Dansk Datahistorisk Forening.
He told me that the Dannisch Computer Museum has an old IBM Ssytem/3 model 15 in storage.
Somewhere in the this email exchange the idea was born to restore the IBM System/3 model 15D
to operational status.
After inventory of all equipment and documentation it was clear that everyting was there to bring this project
to a good end. The project was planned for 5 days in May 2011.
Below you will find the restoration project blog.
Note: all equipment in this blog was rewired to 240V.
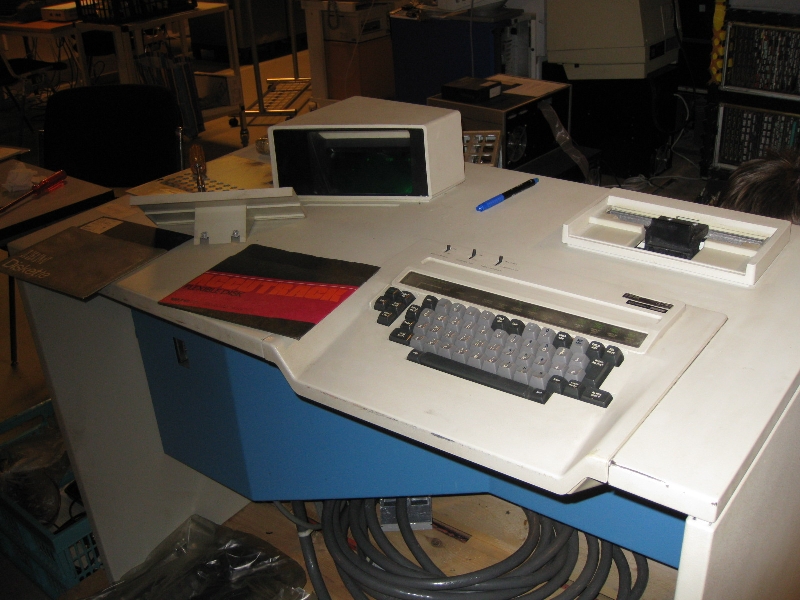
IBM 3277-1 terminal
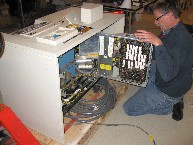
We started simple with restoring the IBM 3277-1 operator console.

Removing the top cover of the terminal.
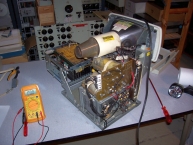
After cleaning the unit, specificly the high voltage area of the tube, we slowly turned up the mains voltage.
Soon there was a bang with smoke. Reaction of Jørgen: "Henk, this is not what we want."
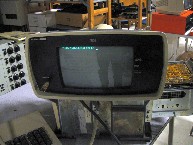
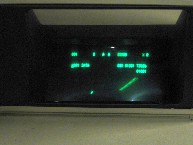
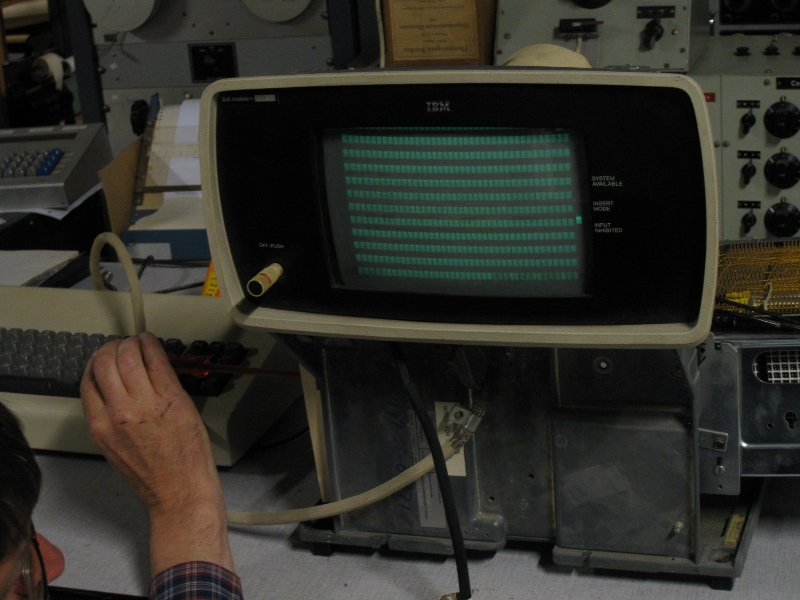
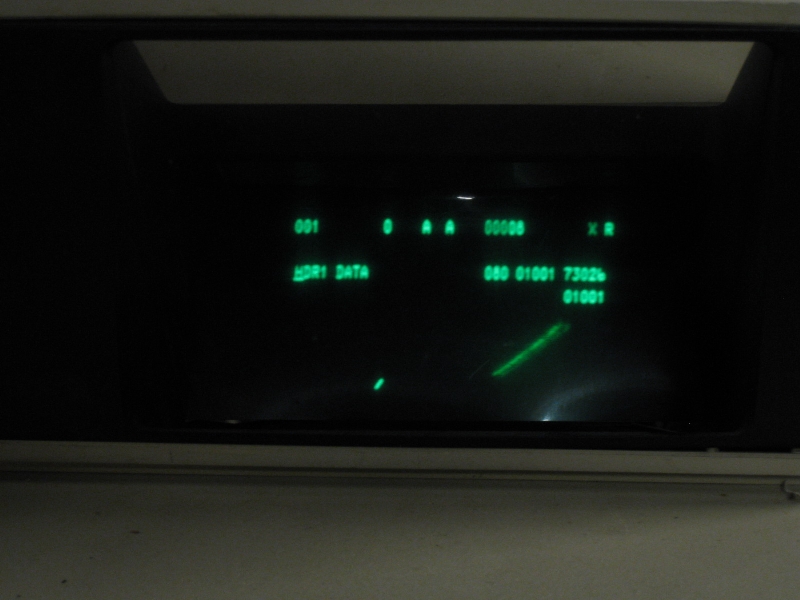
The problem was a short circuit in a small tantaal capacitor. After replacing it, the tube showed some light
on the screen. but it where all block characters, see below.

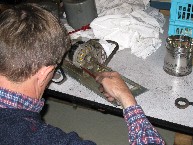
After some investigation we found that a PCB track was burned out caused by the broken circuit
on the K position card. This broken track prevented the CMOS chips to receive -12V.
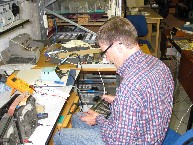
Me repairing the K card at component level.
The IBM 3277-1 was working again. One down, a few to go.
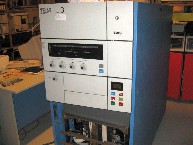
IBM 3741 diskette station
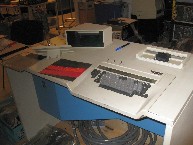
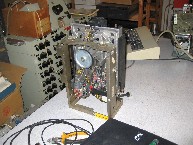
Next on our todo list was the IBM 3741 diskette station.
General internal inspection of the unit.
This unit is in very good condition.
The diskette motor was not running after a controlled power up.
This was caused by a 220V pin which was pushed back into the power connector.
After a quickly repair the diskette motor was running, but the unit didn't read any diskettes.
A wire was loose from the micro switch that detects closed drive door.
This was also quicky repaired.
The IBM 3741 was working again after so many years storage !
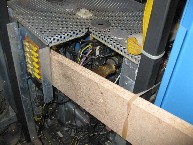
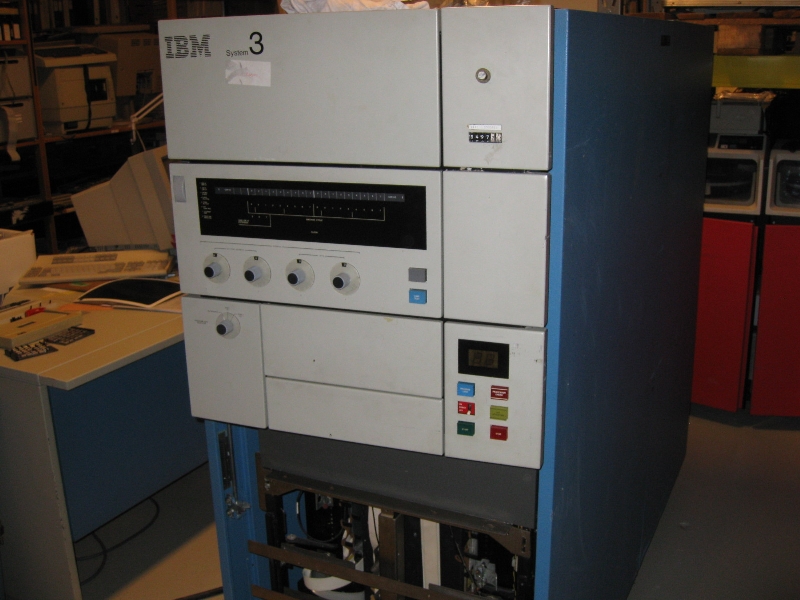
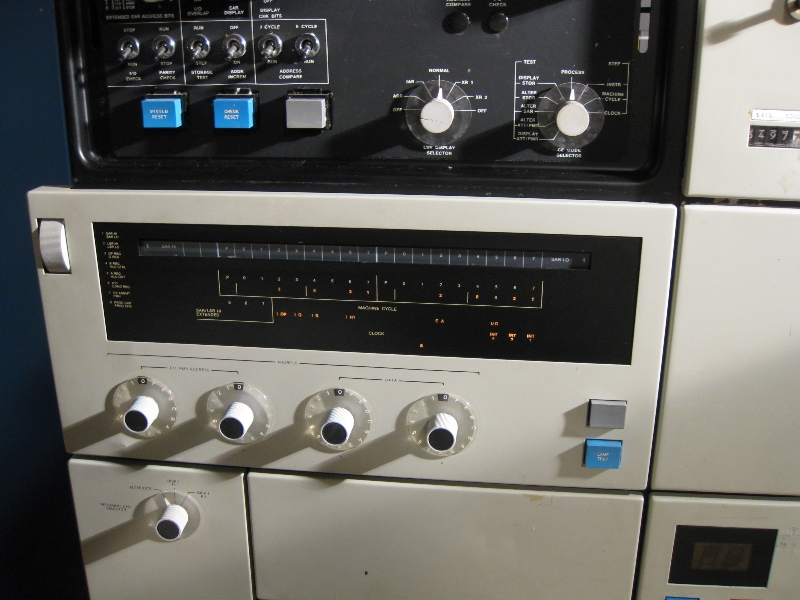
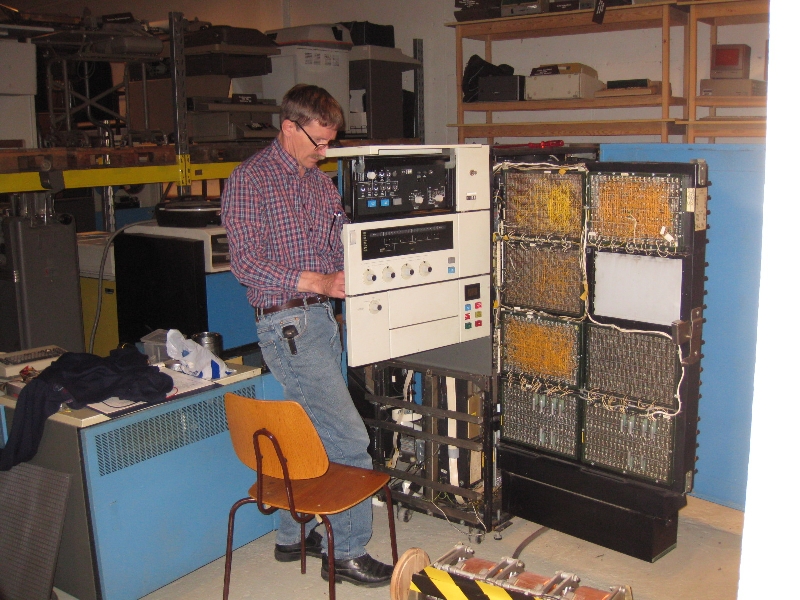
IBM 5415 CPU front panel
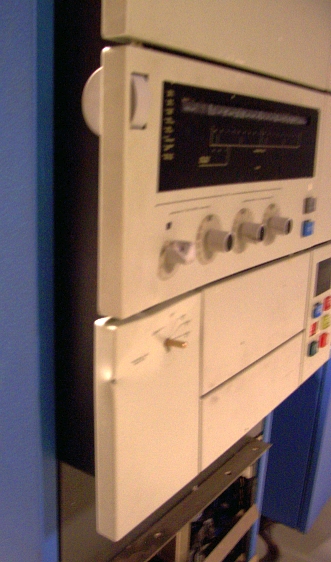
The front panel of the CPU was damaged during transport. See below.

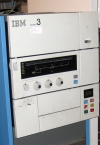
The panel had received a big hit on its left side, even so much that I was unable to turn the display drum freely.
I had taken some spare parts with me to recondition the panel.
The left-under section of the panel and the knobs where replaced with better ones.
The EPO pull button was temporarely replaced with a long bolt and a washer.
After this face lift the CPU looked almost like new again.
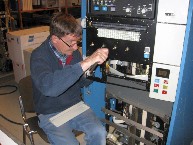
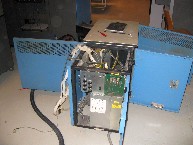
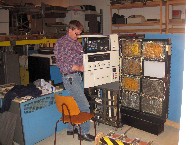
Powering up the CPU
The museum had a big three phase variable transformer available. This is a very usefull tool when
you want to power up an old computer like the S/3 CPU.
The main contactor was manually closed with a "high tech" trick.
The trick is composed of a screw driver pressing the main switch with a piece of wood and an elastic band.
Slowly we increased the mains voltage. This time no smoke (Jørgen was happy). All went well.
After giving all the capacitors some time to reformat we powered up the CPU normally.
The power up sequence didn't complete, the unit was missing +24V & +60V from the 5421 printer
controller.
Connecting the IBM 5421 unit to mains gave an unexpected problem.
The unit has an earth leak bigger then 30mA, so everytime the mains protection kicked in.
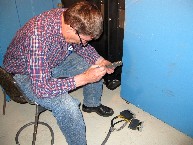
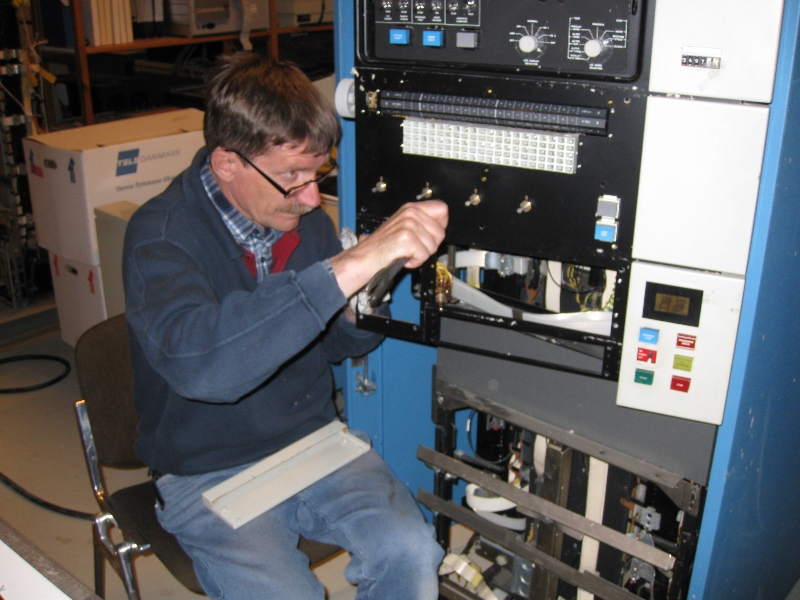
We decided to fake the CPU that the +24V & +60V where present.
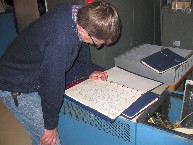
Me looking at detailed IBM drawings: "How can I fake the CPU ?"
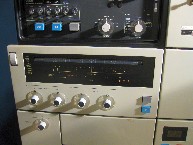
Power up sequence completed, but several panel lights are on which should be off.
(All INT lights are on)
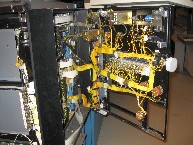
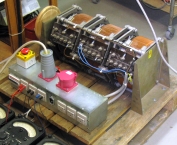
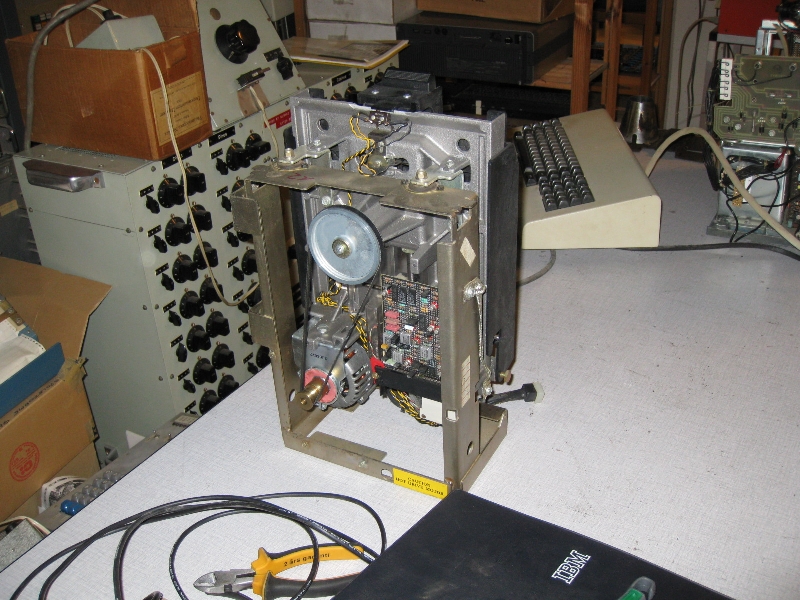
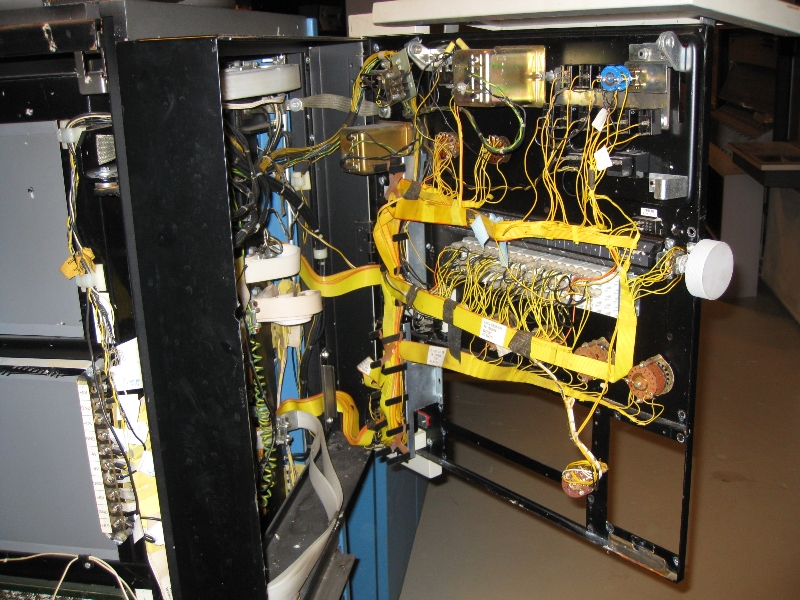
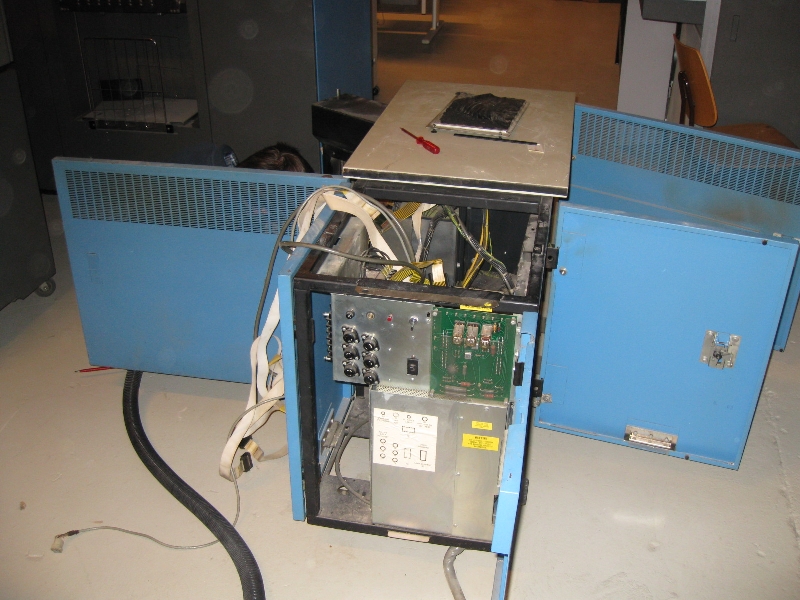
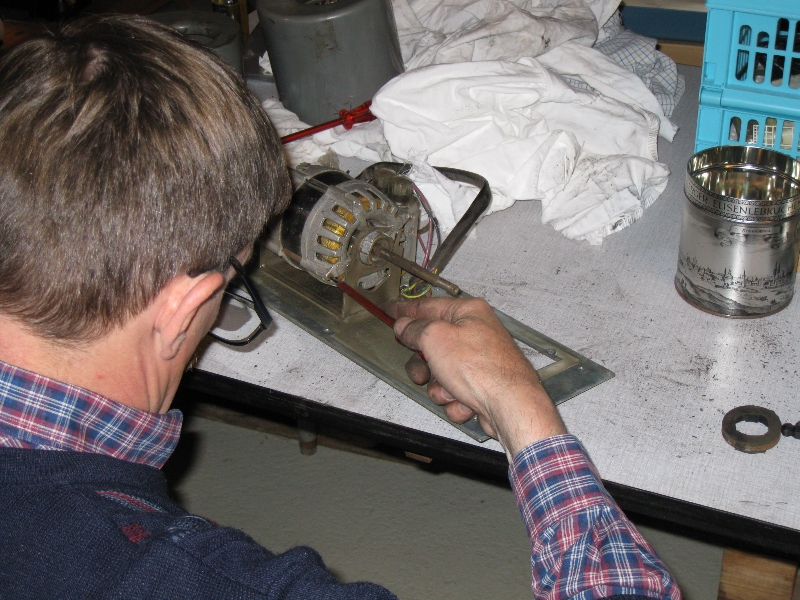
After power up the fan unit of gate A was making some terrible noise.
I disassembled and cleaned the whole fan unit including the motor.
The bearings received an overdosis oil.
This changed the noisy fan unit in a quiet one.

One PCB card was fallen out of the CPU board what caused all INT lights to turn on.
This was quickly fixed, but there where still memory problems.
The CPU had some water damage in the past, so we decided to swap all CPU and
memory cards with spare ones.
This solved our last problem which was probably caused by a faulty memory data bus selector card.
The CPU beheaved as it should be!
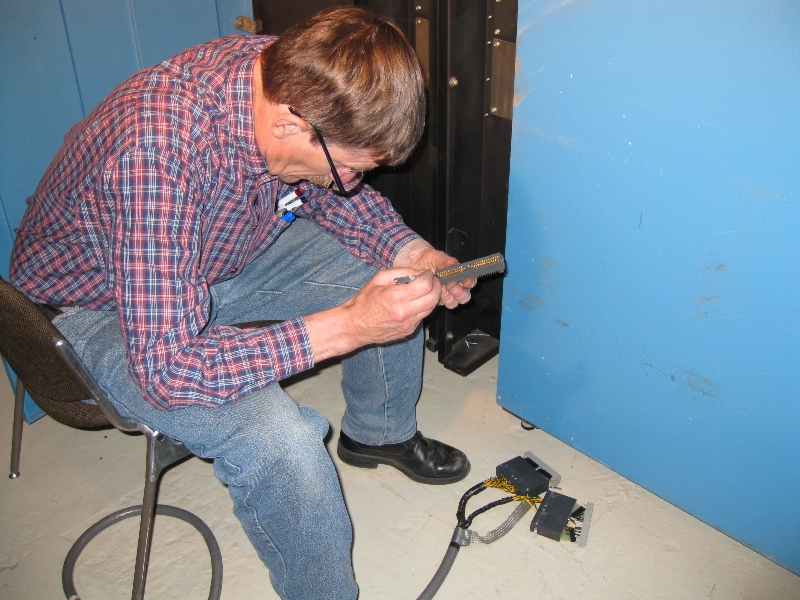
IPL from the IBM 3741
Next step was to IPL the CPU with a small diagnostic program from diskkette.
For this we had to connect the 3741 to the CPU.
Before connecting, I inspected the IBM connecters and detected two bended pins.
A spare IBM channel terminater provided some pins to replace the bad ones.
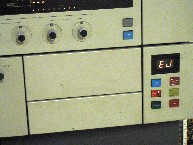
A diskette was inserted in the 3741 and after pressing PROGRAM LOAD the diagnostic
ended nicely with an EJ (End of Job). Victory !
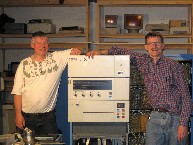
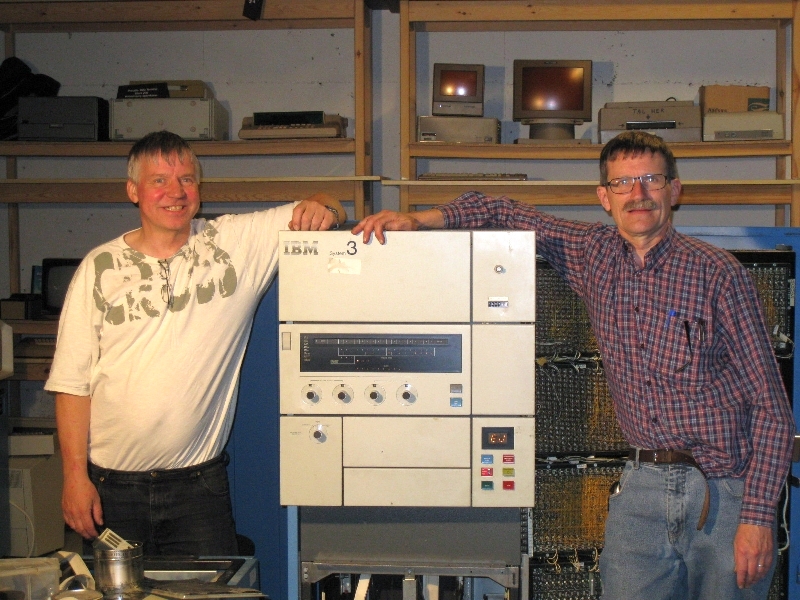
Jørgen Bøgvald and me standing side by side with a restored operational IBM S/3 CPU.
There was not enough time to restore the IBM 3340 disk drives. This has to wait
for the next time. Hopefully we can then IPL the CPU with the SCP (System Control Program)
and may be even start CCP.
See part 2 of this restauration project.
He told me that the Dannisch Computer Museum has an old IBM Ssytem/3 model 15 in storage.
Somewhere in the this email exchange the idea was born to restore the IBM System/3 model 15D
to operational status.
After inventory of all equipment and documentation it was clear that everyting was there to bring this project
to a good end. The project was planned for 5 days in May 2011.
Below you will find the restoration project blog.
Note: all equipment in this blog was rewired to 240V.
IBM 3277-1 terminal
We started simple with restoring the IBM 3277-1 operator console.
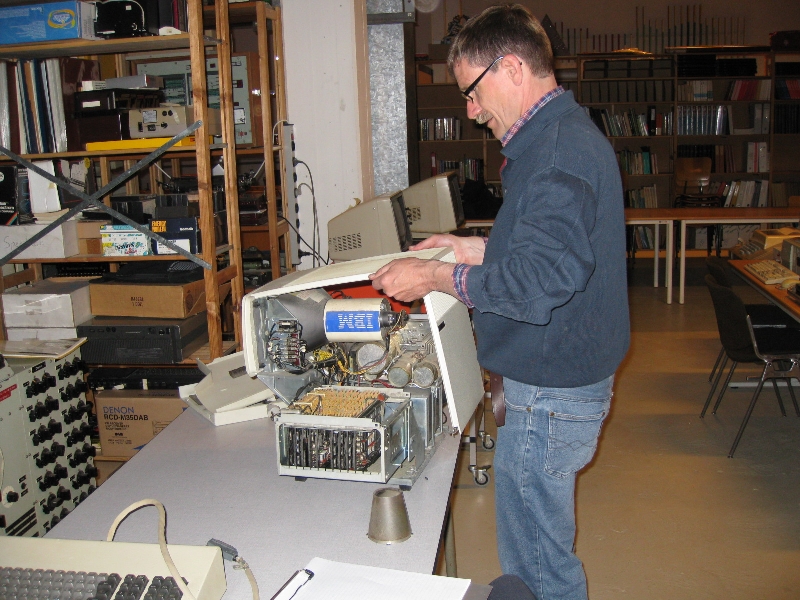
Removing the top cover of the terminal.
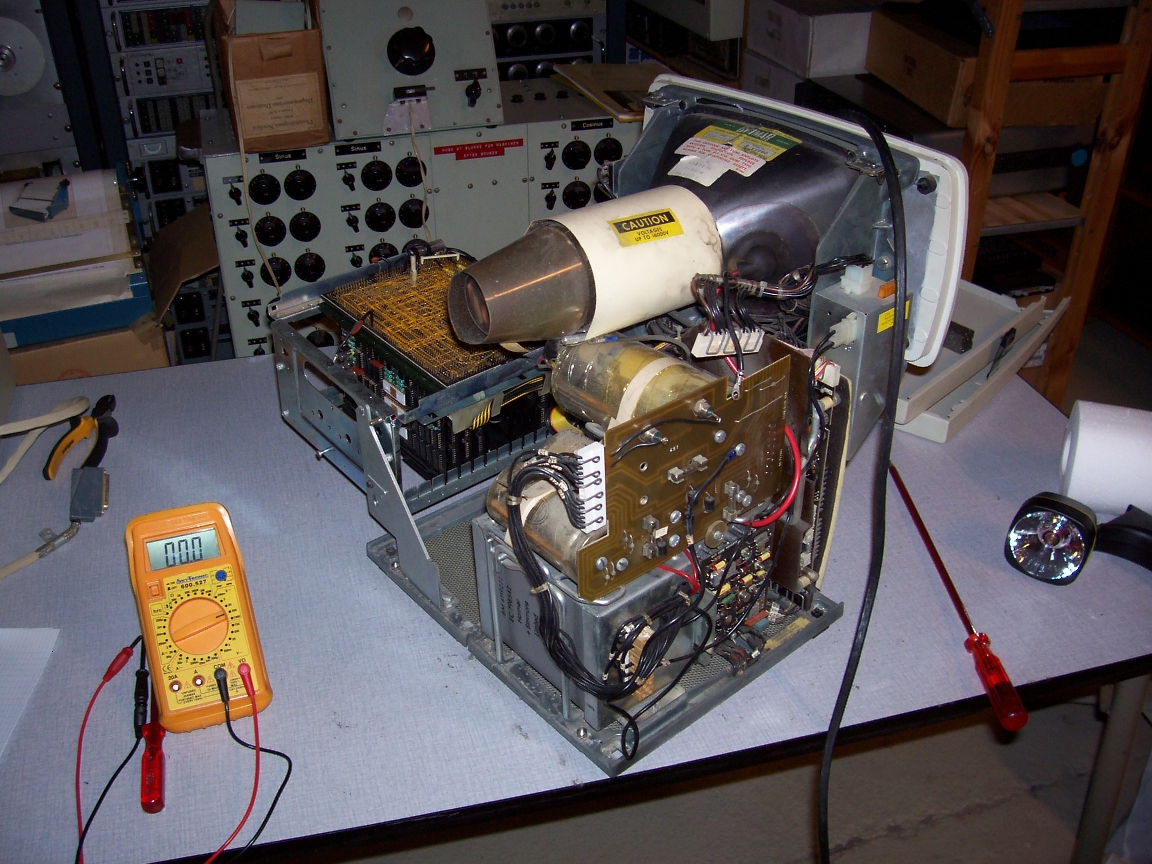
After cleaning the unit, specificly the high voltage area of the tube, we slowly turned up the mains voltage.
Soon there was a bang with smoke. Reaction of Jørgen: "Henk, this is not what we want."
The problem was a short circuit in a small tantaal capacitor. After replacing it, the tube showed some light
on the screen. but it where all block characters, see below.
After some investigation we found that a PCB track was burned out caused by the broken circuit
on the K position card. This broken track prevented the CMOS chips to receive -12V.
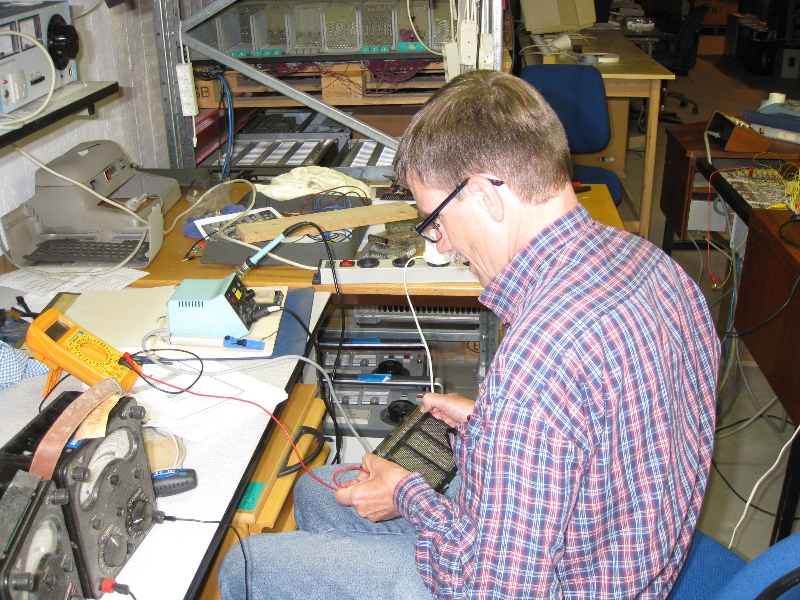
Me repairing the K card at component level.

The IBM 3277-1 was working again. One down, a few to go.
IBM 3741 diskette station
Next on our todo list was the IBM 3741 diskette station.
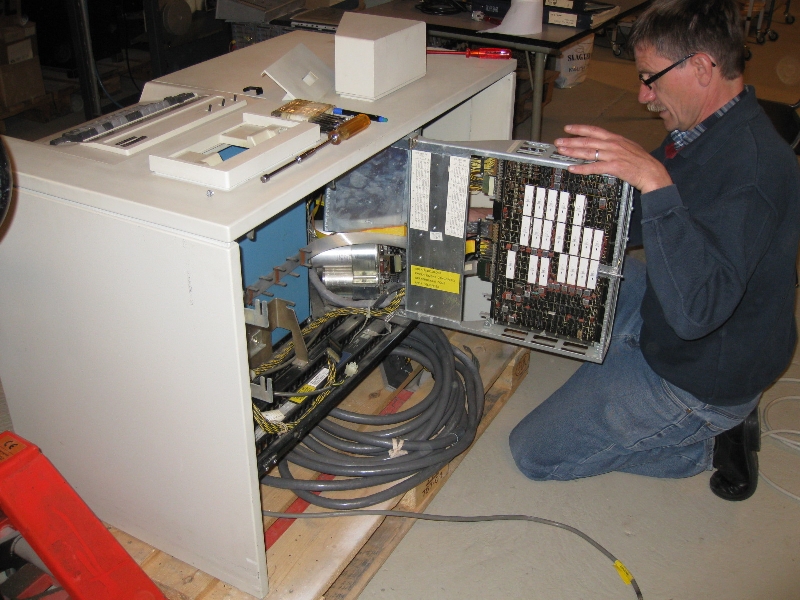
General internal inspection of the unit.
This unit is in very good condition.
The diskette motor was not running after a controlled power up.
This was caused by a 220V pin which was pushed back into the power connector.
After a quickly repair the diskette motor was running, but the unit didn't read any diskettes.
A wire was loose from the micro switch that detects closed drive door.
This was also quicky repaired.
The IBM 3741 was working again after so many years storage !
IBM 5415 CPU front panel
The front panel of the CPU was damaged during transport. See below.

The panel had received a big hit on its left side, even so much that I was unable to turn the display drum freely.
I had taken some spare parts with me to recondition the panel.
The left-under section of the panel and the knobs where replaced with better ones.
The EPO pull button was temporarely replaced with a long bolt and a washer.
After this face lift the CPU looked almost like new again.
Powering up the CPU
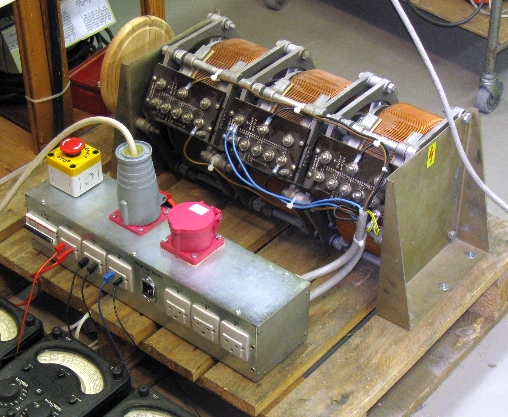
The museum had a big three phase variable transformer available. This is a very usefull tool when
you want to power up an old computer like the S/3 CPU.

The main contactor was manually closed with a "high tech" trick.
The trick is composed of a screw driver pressing the main switch with a piece of wood and an elastic band.
Slowly we increased the mains voltage. This time no smoke (Jørgen was happy). All went well.
After giving all the capacitors some time to reformat we powered up the CPU normally.
The power up sequence didn't complete, the unit was missing +24V & +60V from the 5421 printer
controller.
Connecting the IBM 5421 unit to mains gave an unexpected problem.
The unit has an earth leak bigger then 30mA, so everytime the mains protection kicked in.
We decided to fake the CPU that the +24V & +60V where present.
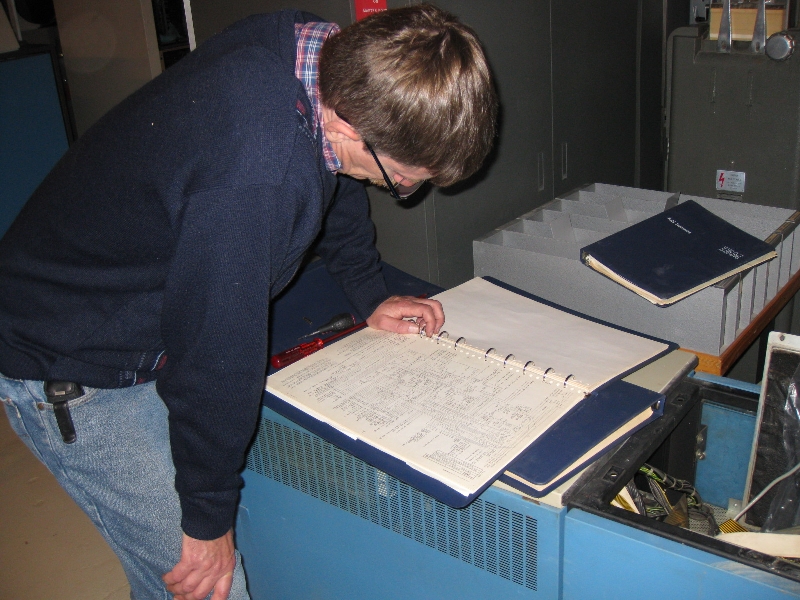
Me looking at detailed IBM drawings: "How can I fake the CPU ?"
Power up sequence completed, but several panel lights are on which should be off.
(All INT lights are on)
After power up the fan unit of gate A was making some terrible noise.
I disassembled and cleaned the whole fan unit including the motor.
The bearings received an overdosis oil.
This changed the noisy fan unit in a quiet one.

One PCB card was fallen out of the CPU board what caused all INT lights to turn on.
This was quickly fixed, but there where still memory problems.
The CPU had some water damage in the past, so we decided to swap all CPU and
memory cards with spare ones.
This solved our last problem which was probably caused by a faulty memory data bus selector card.
The CPU beheaved as it should be!
IPL from the IBM 3741
Next step was to IPL the CPU with a small diagnostic program from diskkette.
For this we had to connect the 3741 to the CPU.
Before connecting, I inspected the IBM connecters and detected two bended pins.
A spare IBM channel terminater provided some pins to replace the bad ones.

A diskette was inserted in the 3741 and after pressing PROGRAM LOAD the diagnostic
ended nicely with an EJ (End of Job). Victory !
Jørgen Bøgvald and me standing side by side with a restored operational IBM S/3 CPU.
There was not enough time to restore the IBM 3340 disk drives. This has to wait
for the next time. Hopefully we can then IPL the CPU with the SCP (System Control Program)
and may be even start CCP.
See part 2 of this restauration project.